
Key Takeaways
- Define the practical problem before choosing finishes.
- Separate urgent repairs from optional upgrades.
- Budget for the entire scope, including permits, cleanup, and contingency funds.
- Use one written project brief when comparing proposals.
- Make material selections early enough to support the schedule.
- Document changes, payments, inspections, and final corrections.
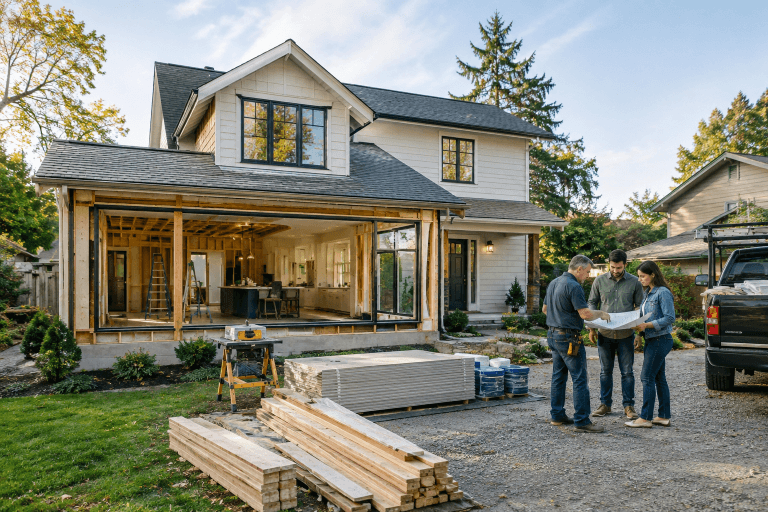
A successful home renovation begins with a clear problem to solve, not a list of trending finishes. Whether a household needs better storage, a safer bathroom layout, updated systems, or a more useful kitchen, thoughtful renovations planning can keep decisions focused on how the home needs to work every day.
In a community where heat, humidity, heavy rain, and active family routines can affect a home’s comfort and upkeep, it helps to prioritize durable choices and realistic construction plans. The goal is not to copy a showroom. It is to create a space that fits the household, respects the budget, and can be maintained with confidence.
Why Planning Matters More Than Trend Chasing
A room can look updated and still create daily frustration. A kitchen may lack convenient outlets, a bathroom may have poor lighting, or a living area may not provide enough storage for its occupants. Start by considering function, safety, maintenance, and traffic flow before deciding on colors, fixtures, or decorative details.
Good planning also helps homeowners make decisions in the right order. Repairing moisture damage, correcting unsafe wiring, or improving drainage should generally take priority over cosmetic work. This approach can prevent new finishes from being removed later, allowing hidden problems to be addressed.
For projects that substantially change how rooms are used, homeowners may describe the work as remodeling rather than a simple update. Either way, a written plan is useful because it turns a broad idea into specific decisions about scope, budget, materials, and timing.
Step 1: Define What Needs to Change
Walk through each room and write down what is not working now. Avoid beginning with a product list. Instead, note concerns involving comfort, storage, cleaning, safety, accessibility, lighting, and movement through the space.
A Simple Room-by-Room Worksheet
- What causes the most frustration in this room?
- What must be repaired before cosmetic work begins?
- Will this space still work if household needs change?
- Which improvement would make the biggest difference in daily use?
Step 2: Separate Needs From Wants
Sort every project item into three groups. The first includes work that must happen now, such as safety concerns, water intrusion, damaged subfloors, or code-related issues. The second includes improvements that make sense while the area is already open, such as adding insulation during wall repairs. The third includes items that can wait, including specialty finishes or decorative upgrades that do not affect the main project goal.
This distinction protects the budget when unexpected conditions appear. It is easier to postpone a decorative feature than to delay work needed to make a room safe, dry, or functional.
Step 3: Build a Realistic Budget
A complete renovation budget should account for more than labor and visible materials. Include planning or design costs, demolition and disposal, repairs to framing or systems, electrical and plumbing work, delivery charges, permits, inspections, temporary storage, and cleanup. If the work makes part of the home unusable, also consider meals, temporary living arrangements, or other disruption-related costs.
Keep a contingency reserve rather than allocating every available dollar to finishes. Older homes and areas affected by leaks or previous alterations can reveal conditions that were not visible during early planning. Ask that every proposal clearly state what it includes, what it excludes, and which selections are allowances rather than final prices.
Step 4: Check Permits, Codes, and Property Rules
Permit requirements vary by location and by the type of work being performed. Structural changes, plumbing alterations, electrical work, new openings, additions, and major mechanical work may require approval. Before setting a construction date, contact the appropriate local building authority and confirm the requirements for the specific address and scope.
As a general illustration of how much project scope can affect approvals, local permit requirements can distinguish between cosmetic replacements and work involving building systems or interior alterations. Rules in different jurisdictions may vary, so local confirmation is essential.
Step 5: Create a Clear Project Brief and Compare Proposals
Prepare one document before requesting estimates. List the rooms involved, existing problems, planned changes, preferred materials, target budget range, and desired completion window. Include photos, measurements, and product information when available. Giving the same brief to each contractor makes it easier to compare proposals.
A written proposal should describe the scope, materials, allowances, schedule, payment terms, exclusions, and change-order process. Ask who will coordinate subcontractors, order materials, schedule inspections, and communicate when an unexpected issue is found. A lower number is not necessarily a better value if important work has been omitted.
Step 6: Select Materials Before Construction Starts
Late selections can interrupt the sequence of work. Cabinets, windows, appliances, flooring, plumbing fixtures, doors, and specialty lighting may need to be ordered before installation can proceed. Make decisions early, then confirm product dimensions, finish availability, delivery timing, and return policies.
Choose materials based on more than appearance. Consider how they handle routine cleaning, moisture, wear, replacement needs, and the way the household uses the room. Keep a record of model numbers, paint colors, grout choices, and hardware finishes for future maintenance.
Step 7: Build a Workable Timeline
Many projects follow a basic order: planning, approvals, ordering, demolition, rough electrical or plumbing work, inspections, wall repairs, cabinetry or built-ins, flooring, paint, fixture installation, cleanup, and final corrections. Some work can overlap, but other tasks must wait until an earlier phase is completed or inspected.
A general project process shows why permits, written contracts, inspections, and final sign-off should be considered before work begins. The exact process will vary by location, but keeping a schedule with decision deadlines helps prevent avoidable delays.
Living Through the Renovation and Closing It Out
Prepare for disruption by packing the work area, protecting documents and valuables, arranging a temporary space for essentials, and establishing safe boundaries for children and pets. Agree on work hours, access procedures, material storage, and the best method for routine communication.
At the end, complete a final walkthrough before considering the project finished. Check doors, drawers, outlets, fixtures, paint, flooring, trim, drainage, and cleanup. Create a punch list that identifies each remaining item, assigns responsibility, and specifies the expected completion date. Keep permits, warranties, receipts, approved changes, and product details together for future reference.
Conclusion
Home renovation success comes from clear decisions made before demolition begins. A defined scope, practical budget, verified permit requirements, early selections, and steady communication can make even a complex project easier to manage. Focus first on the way the home needs to support daily life, then let style choices reinforce that plan.